My last post discussed some of the coffee fundamentals: it’s time to talk methods. Different coffee brewing methods exist because each one treats the bean in a different way. Pourover, for example, highlights the unique flavor profile of a coffee, accentuating tasting notes, while toddy cold brewing tends to compress and chocolate-ify coffee, hiding the individual flavors in a satin-smooth coffee drape. Each has different powers: pourover is the standard go-to for bringing the best out of your bean, while toddy cold brew can salvage some pretty horrible coffee and transform it into something drinkable. The three that I’ll discuss here all have the advantage of ease and large margin of error. Perhaps the most important feature of each is their place on the “body – flavor clarity” scale:

In short, this tells us that there’s a trade-off between body, the perception of viscosity in coffee caused by oils and insolubles, and flavor clarity. This trade-off holds for every method except espresso (espresso is a different beast altogether).
It’s worth mentioning that you can find these (standard) recipes all across the web, and each one will be slightly different—the recipes used by actual baristas vary from day to day, based on the bean, temperature, humidity, and the degree to which they’ve pleased the coffee gods with ritual sacrifice. I thus wanted to focus less on the actual recipes and more on the attributes of each method. Once you’ve made a couple of decent batches of a given method, start playing with the ratios, grind coarseness, and brew times. Compare your results to those of your favorite coffee shop and see how you stack up. If you’re interested in how to adjust in response to taste, I refer you to the great Matt Perger for an excellent explanation of extraction and flavor.
Method 1: Cold Brew (toddy method)
Toddy cold brew is typically prepared as a coffee concentrate that is cut with water or milk before drinking. Brewing takes place in some closed container in a refrigerator over a 1 to 2 day period, and the concentrate is then pressed out through a filter into a lidded storage container (ideally glass—think mason jar). Cold brew will stay good in your fridge for something on the order of two weeks, although for flavor’s sake it’s best enjoyed within a week. Once the concentrate is made, you need only cut it with water or milk and add ice, then you’re good to go.
Attributes:
- Requires a container and a filter
- Most forgiving, both to user error and low-quality beans
- Chocolate-ifies coffee—flavors, good or bad, will be muted and homogenized
- Low flavor clarity
- Cold brew concentrate makes amazing lattes
- Can make arbitrarily large batches (other methods have serious scaling limits)
- 1-2 days to brew, but available upon demand after brewing
Instructions:
- Calculate your desired amount of cold brew concentrate with a 1:4.25 dry coffee to water ratio.
- The 1 mL ~ 1 g approximation is good for water, but not for coffee.
- You will get less concentrate than input water because filtering at the end of this process isn’t a perfect process. The exact yield depends largely on filter choice and your determination.
- Very coarsely grind the coffee and empty into a container (see first note). Pour water into container and stir. Close container and stick in fridge.
- Wait 12-24 hours. 16 is a good starting point.
- Filter into container and store in fridge.

Notes:
- If you have a toddy/filtron system, rinse your filter with water (to eliminate the papery flavor), then place your coffee in the filter before adding the water for brewing. Filtering cold brew is probably the most annoying part of the brewing process, and this saves a lot of hassle.
- There is another way of cold brewing coffee, known as Kyoto Drip. It’s a delightful method that excels at pulling delicate flavors from coffee. It unfortunately requires a means of tightly controlling a drip rate of water droplets over a bed of coffee, which either requires an expensive glass Kyoto Drip tower or a microcontroller and free time.
- Iced coffee
cold brew. Cold brew means that the water is cool during the brewing phase. Iced coffee can refer to coffee that is brewed hot then promptly cooled by ice. This not surprisingly waters down the coffee, but if you correct for this by making a stronger brew in the first place, you can still make some great coffee, as in iced pourover.
- This is my go-to method for old or mediocre beans. As I said, cold brew salvages bad coffee in a way no other method can. For cold brew lattes, simply take ⅓ coffee concentrate and ⅔ milk and mix it with whatever flavors your heart desires. My two favorites are salted maple syrup (shake it for best results) and vanilla simple syrup with cinnamon. Don’t overdo it with syrups—try it more subtly, you might just like it.
Method 2: Drip
Drip coffee (aka batch brew) is a classic for a reason: it’s the easiest method, only requiring you to weigh coffee, grind it, toss it into a machine and press a button. It’s simple, hot, and tasty. But this ease comes at a cost: batch brew doesn’t extract flavor as evenly as pourover, and tends to come along with more bitterness and/or sourness (again, I refer you to Matt Perger). Despite this, batch brew’s ease and user-friendliness make it staple of offices and laboratories alike.
Attributes:
- Requires a drip machine
- Easiest—just measure your coffee and press a button
- Medium body
- Medium flavor clarity
- Available within ~6 minutes
Instructions:
- Calculate your desired amount of coffee with a roughly 1:16 coffee to water mass ratio.
- Most drip coffee machines will have pre-sets in measurements of cups of water. I too am unhappy that we don’t use the metric system. 1 cup ~ 237 mL ~ 237 g of water. So for our
ratio, simply compute:
- 30 g coffee for 2 cups water
- 59 g coffee for 4 cups water
- 89 g coffee for 6 cups water
- Most drip coffee machines will have pre-sets in measurements of cups of water. I too am unhappy that we don’t use the metric system. 1 cup ~ 237 mL ~ 237 g of water. So for our
- Grind to medium coarseness.
- Place coffee in filter and press button.

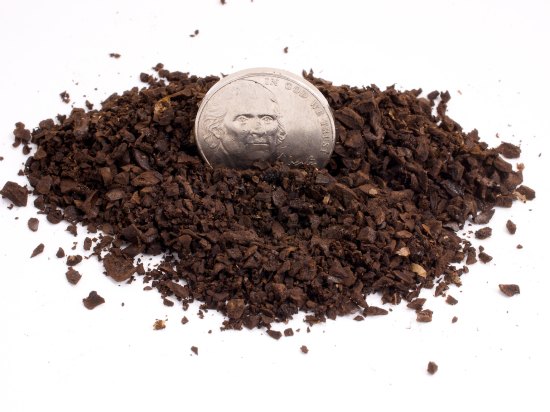
Drip grind (ineedcoffee.com)
![cof [g] = \frac{237 \cdot water [cups]}{r}](https://s0.wp.com/latex.php?latex=cof+%5Bg%5D+%3D+%5Cfrac%7B237+%5Ccdot+water+%5Bcups%5D%7D%7Br%7D+&bg=ffffff&fg=222222&s=0&c=20201002)
Notes:
- Drip coffee is frequently underdosed, meaning the coffee to water ratio is too small. This ratio here is very ballpark, sure, but resist the urge to reduce the dosage at first—if it still tastes too strong (which is not the same as bitterness or sourness, by the way), then adjust. Underdosed coffee and incorrect water temperature are the top brewing mistakes I see in the wild (coffee and grind quality notwithstanding).
- For best coffee, resist the urge to grind your coffee and leave it there overnight. As I discussed in my last post, increases in surface area (e.g. via grinding) dramatically increase rate of diffusion of volatile compounds…so your delicious flavor literally floats away.
- Clean your machine regularly. If you notice calcium build-ups in your device (thanks AZ hard water), clean it with citric acid + water and rinse with at least two rounds of water. Powdered citric acid is cheap, useful, and avoids the residue problems presented by using lemon juice, so it’s worth the purchase.
Method 3: French Press
French press is simple and requires only a french press. You weigh and grind coffee, throw it into the french press, stir in hot water, wait, then press down to filter. With french press prices on the order of $15 and no extraneous equipment necessary, french presses are cheap and portable, making it a great travel device alongside Aeropress. It brews coffee with thick body—one of the heaviest methods alongside Moka pot and Turkish coffee—and consequently low flavor clarity.
Attributes:
- Requires a french press
- Perfect for small number of cups (2-8)
- Heavy body
- Low flavor clarity
- Available within ~4 minutes
Instructions:
- Calculate desired amount of coffee with a 1:15 coffee to water mass ratio.
- Again, 1 cup water ~ 237 mL water ~ 237 g water.
- 27 g coffee for 400 mL water (two small cups)
- 54 g coffee for 800 mL water (four small cups)
- Again, 1 cup water ~ 237 mL water ~ 237 g water.
- Heat water to boil. Pour some into the french press to heat it while waiting for water to cool slightly (our target temp is around 200-205 F. I usually bring water to boil, take it off the heating element, and wait ~2 minutes). Grind coffee coarsely while waiting (slightly finer than cold brew, but much coarser than medium coarse).
- Empty water from press. Place coffee in french press and start timer. Pour in half the allotted water.
- I recommend doing this process on your scale. It’s way easier than volumetrically tracking water usage.
- At 30 seconds, stir slurry with a chopstick or wooden spoon (metal will scratch your precious press). Add remaining water and place lid on press, but don’t press down yet.
- If you have extra water, use it to warm your coffee cups while waiting.
- At 4:00 minutes, press down and pour into cups. Make sure to not leave it in the press—it will continue to extract, leaving you with a bitter, nasty mess.

French press grind (ineedcoffee.com)
Notes:
- French press coffee’s heavy body best complements light, sweet fare, especially pastries and waffles. It’s a coffee method that’s practically designed for brunch.
- When purchasing a french press, verify that the filter fits snugly. Any gaps will allow more coffee sediment to float into your cup (and with french press, you already have plenty).
- If possible, check your water temperature. You can then adjust your brew more precisely (yay scientific method) to optimize your cup.
- Make sure to thoroughly clean your filter after each use—even minute amounts of old coffee will ruin an otherwise delightful batch.
Other Methods
There’s several other methods I didn’t discuss, most notably pourover (my standard drink at home). Pourover aka manual coffee is similar to drip except that it’s done by hand, which allows you to precisely control the flow rate and evenness of extraction, allowing for a more balanced and flavorful cup. I wanted to start with user friendly methods to correct simple mistakes that I commonly see, before graduating to more delicate methods like pourover and siphon. I haven’t decided whether I want to discuss pourover, as there’s ample online resources for it, but we will see. Until then, happy brewing, and post any questions/comments you may have!
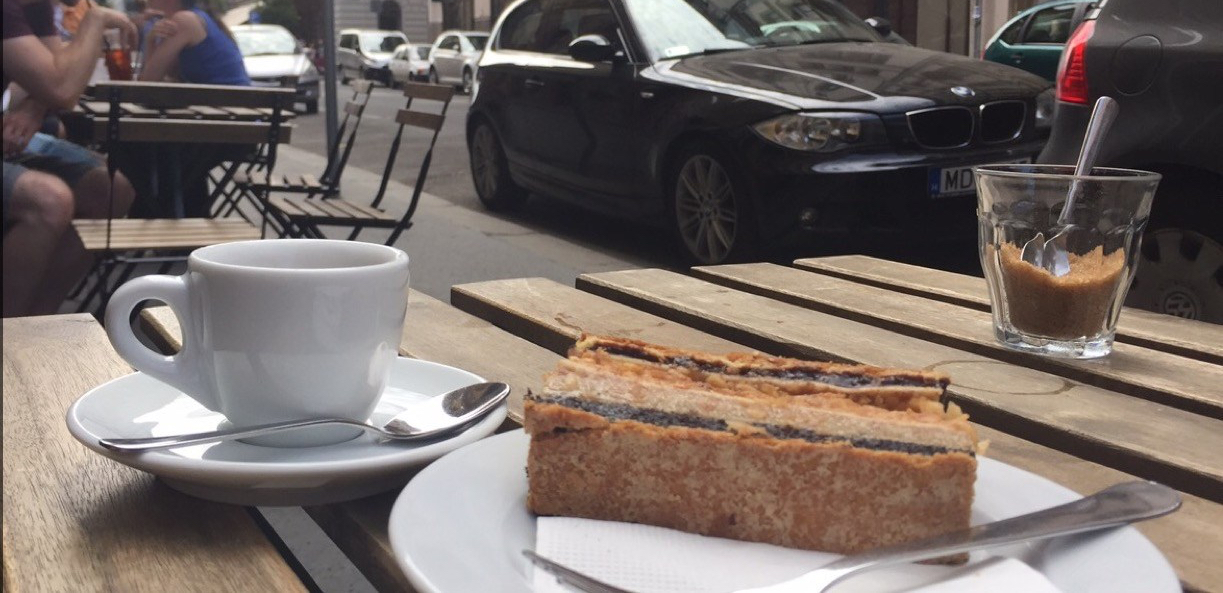
Picture: A macchiato and flodni, a traditional Hungarian-Jewish pastry, at Espresso Embassy in Budapest. Great city (and great coffee).

Hiya! Quick question that’s entirely off topic. Do you know how to make your site mobile friendly? My website looks weird when browsing from my iphone. I’m trying to find a template or plugin that might be able to resolve this problem. If you have any suggestions, please share. Many thanks!
LikeLike
I unfortunately do not :/. I’m not well versed in WordPress’s capabilities.
LikeLike